 06-24-2011, 08:22 AM
|
#1 | |||
|
E Ticket Holder
 
Join Date: Jun 2010
Posts: 3,181
|
How to make a linked signature in CS5
First of all, make your signature. The signature guidelines may be found here. Your signature should not be higher than 200 pixels. There should be no linking to stores or businesses.
My dimensions are 400 pixels wide and 200 pixels high. I used a resolution of 72. 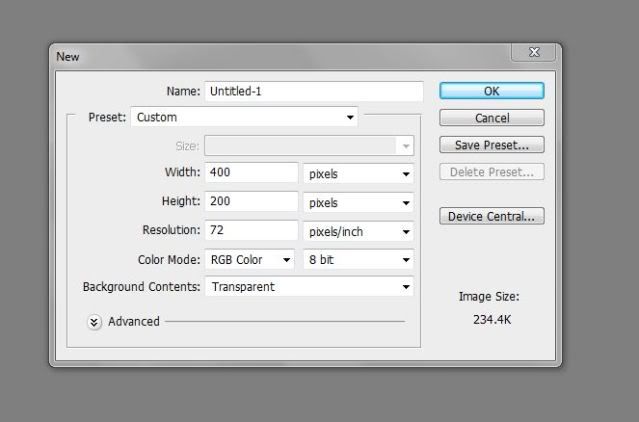 Here's mine: 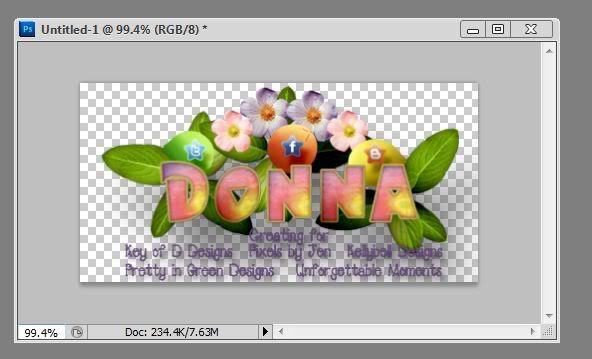 Now, click on View --> Snap To --> All. Then, click on View --> New Guide. Click OK on the pop up. 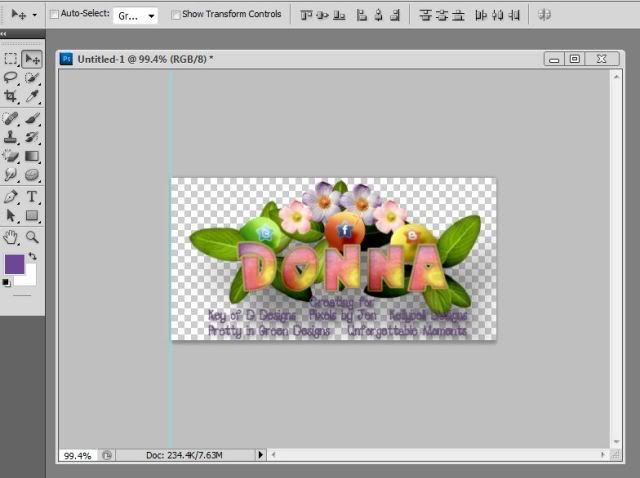 Hover your Move Tool over the guide line that appears on the left side of your work. The Move Tool arrow will change to a double verticle line with an arrow pointing left and an arrow pointing right. Drag the guide line to where you want the division between your first link and second link to be. Repeat these steps until your image is all divided like this 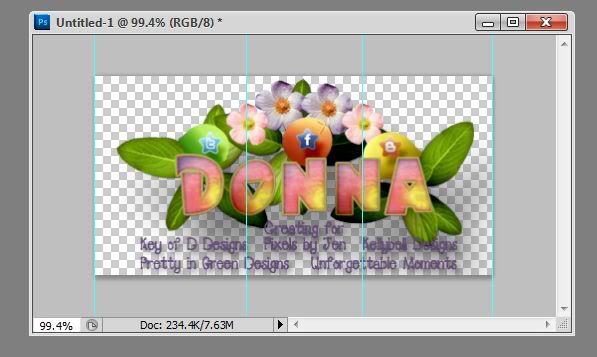 Now it's time to cut it apart! Take your crop tool and crop it along the guide lines. Those guide lines make it soooo easy! 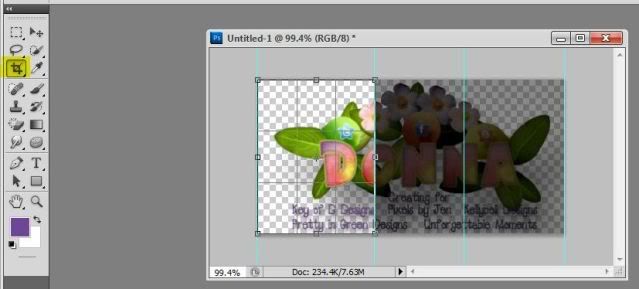 Accept the crop by hitting enter or clicking on the check mark. 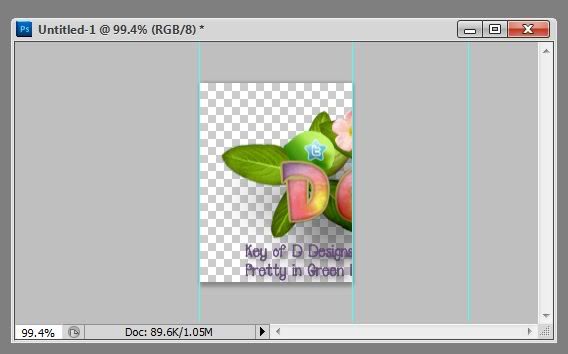 Now you save it. File --> Save As. Name it something you will be able to easily find in a few minutes. I called mine "Summer Sunset Twitter.jpg" (Summer Sunset FB.jpg, Summer Sunset Blog.jpg) Saved? Good. Now click Edit --> Step Backwards and you will get your original siggie with the guide lines. Crop the next section. Save it too. And repeat until you have your signature split into pieces. 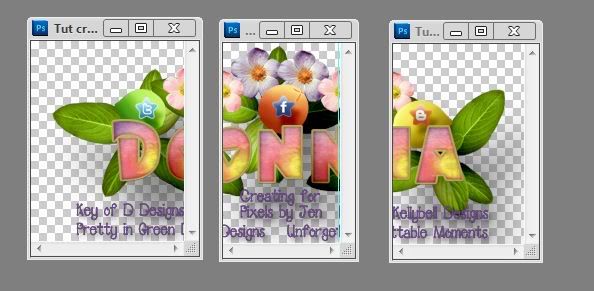 Upload your jpg files to your photo hosting website. I use Photobucket. Now, go to User CP --> Edit Signature. Copy and paste the direct link for each part into your signature box. Make sure you keep them in order and you don't put any character returns (don't hit the enter key) between them. 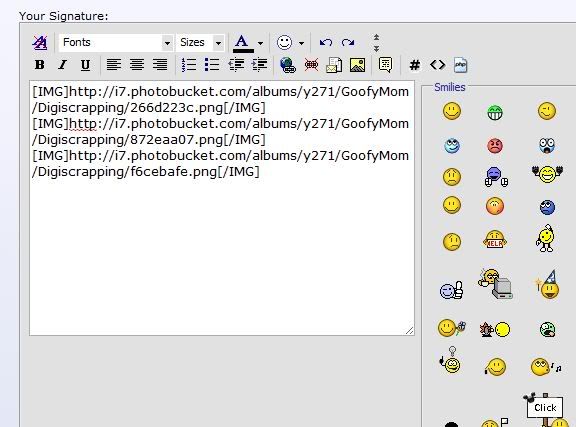 Now just highlight the first image code (mine turned dark when I took the screen shot, but yours will be blue like normal). 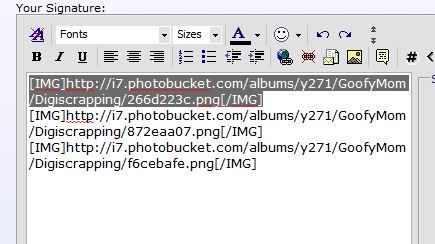 Add the URL for your first link by clicking the link icon (the one that looks like a globe with a little chain link in front of it) 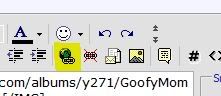 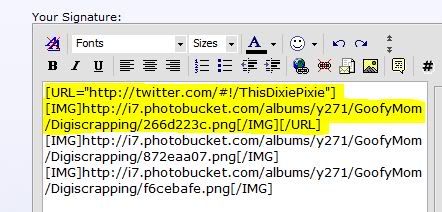 Keep going, you are almost done! Just add the rest of your URLs to your images. This is what it should look like: 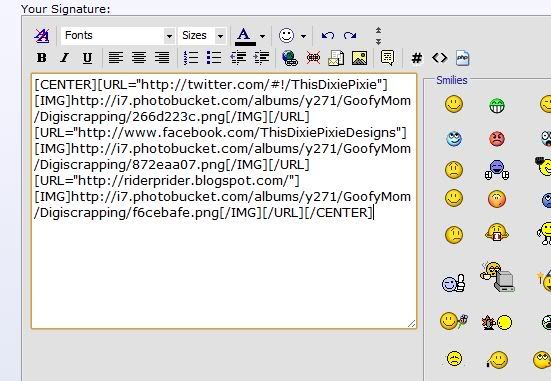 I like my signature centred, so I added the CENTER code on both ends of my signature. Finally, preview your signature to make sure it looks like you want it to. If you like it, save it and you are done! 


|
|||

|

|
|||
| Sponsored Links |
|
|
 Sponsored links
|
|


 Threaded Mode